the step-by-step guide for creating and configuring a Survey Agent
Created: 16/10/2025
Step 1: Log in
1. Go to Shambho.ai
2. Sign in with your credentials
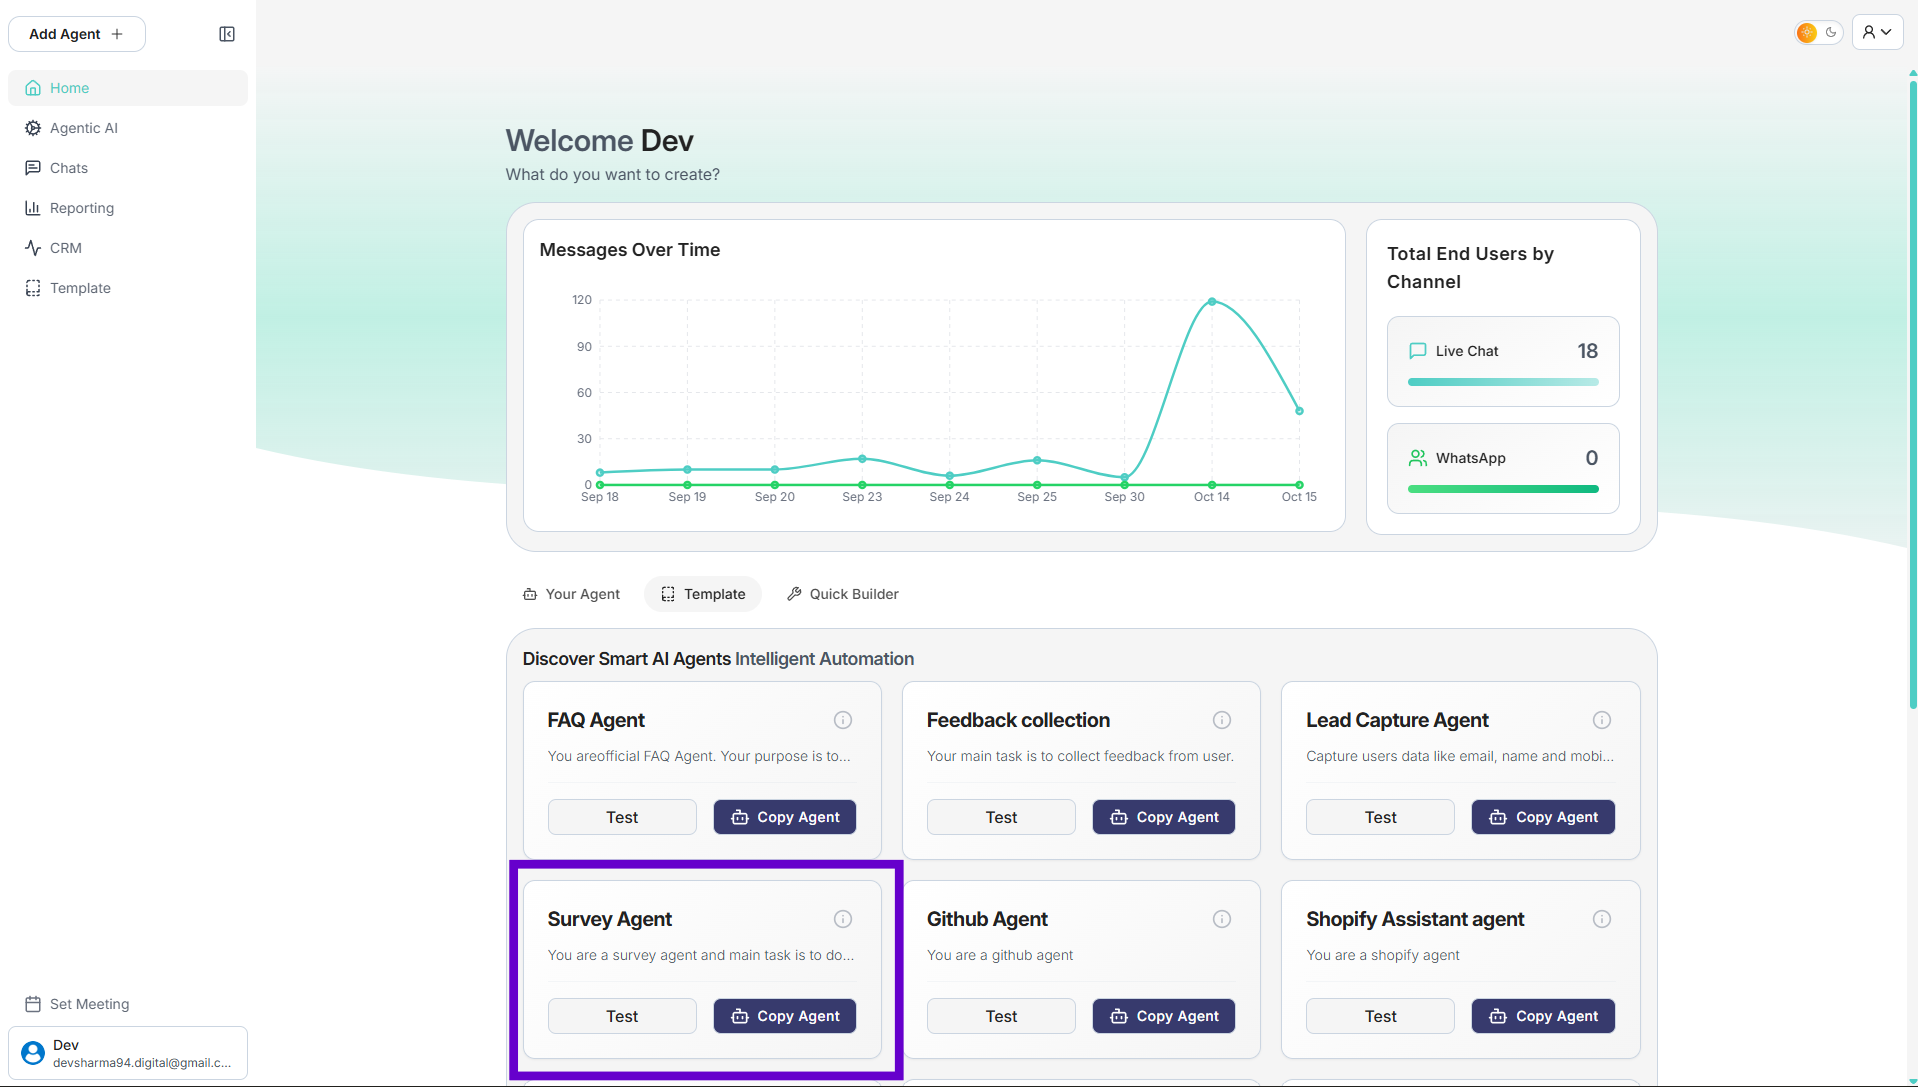
3. After logging in, you will land on the Dashboard.
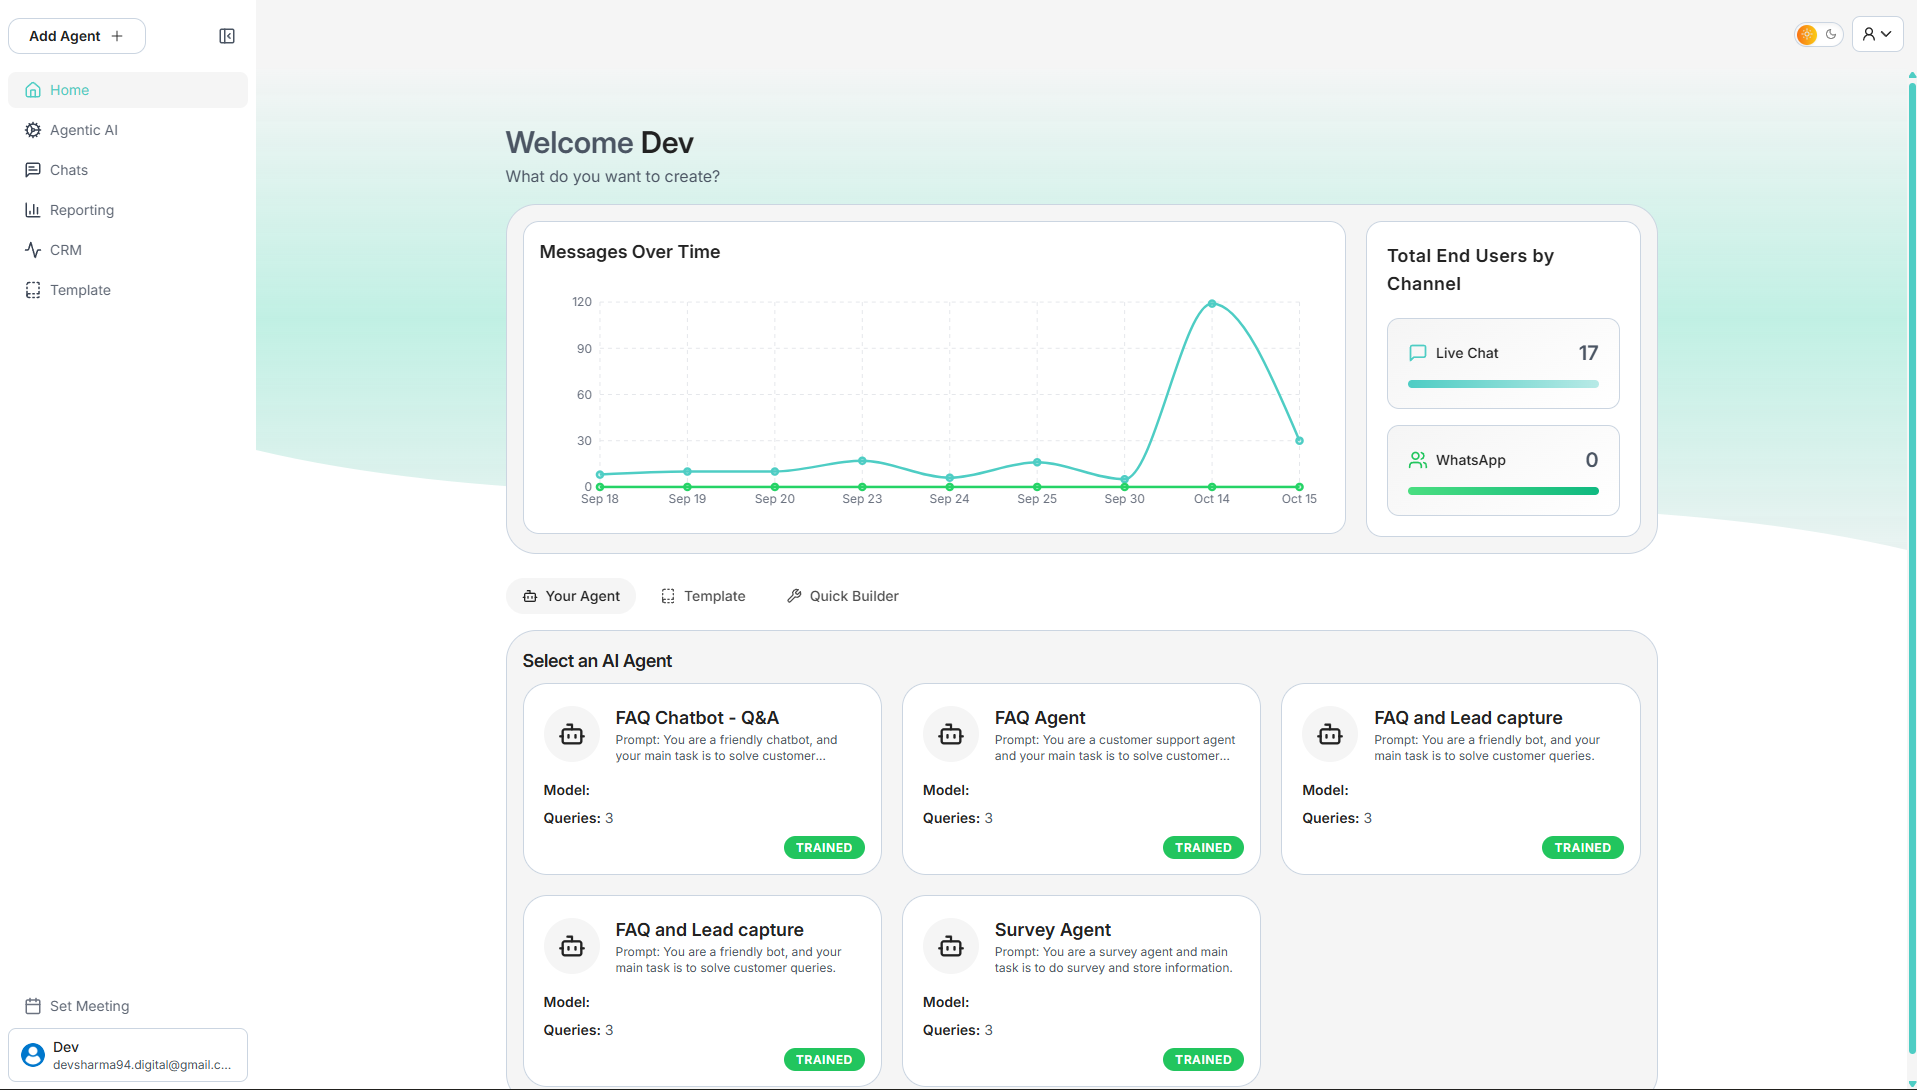
Step 2: Create the Survey Agent from a Template
1. From the main dashboard, navigate to the Templates section.
2. Locate the Survey Agent template and click the Copy Agent button.
3. You will be redirected to the new agent's dashboard, which is pre-configured with the necessary tools and settings for a survey.
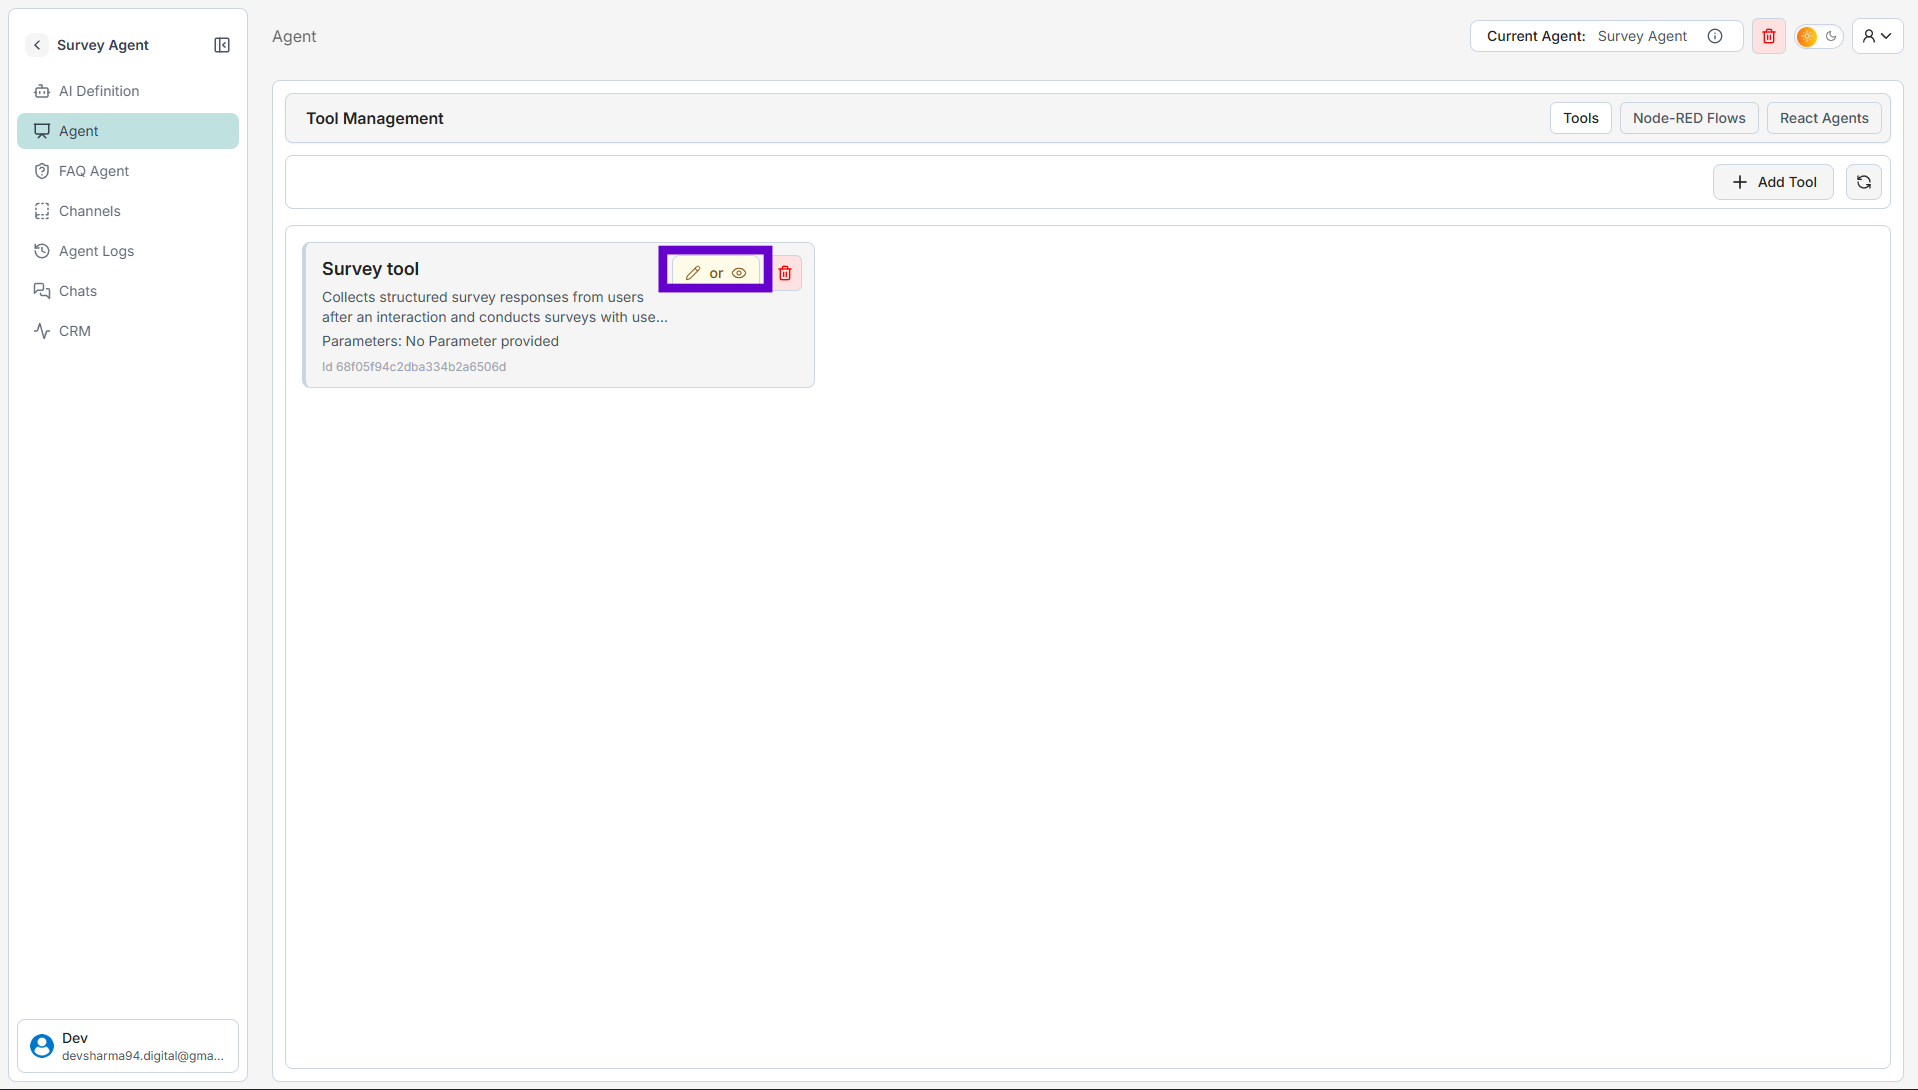
1. You will see a card for the "Survey tool." Click the edit icon on this card.
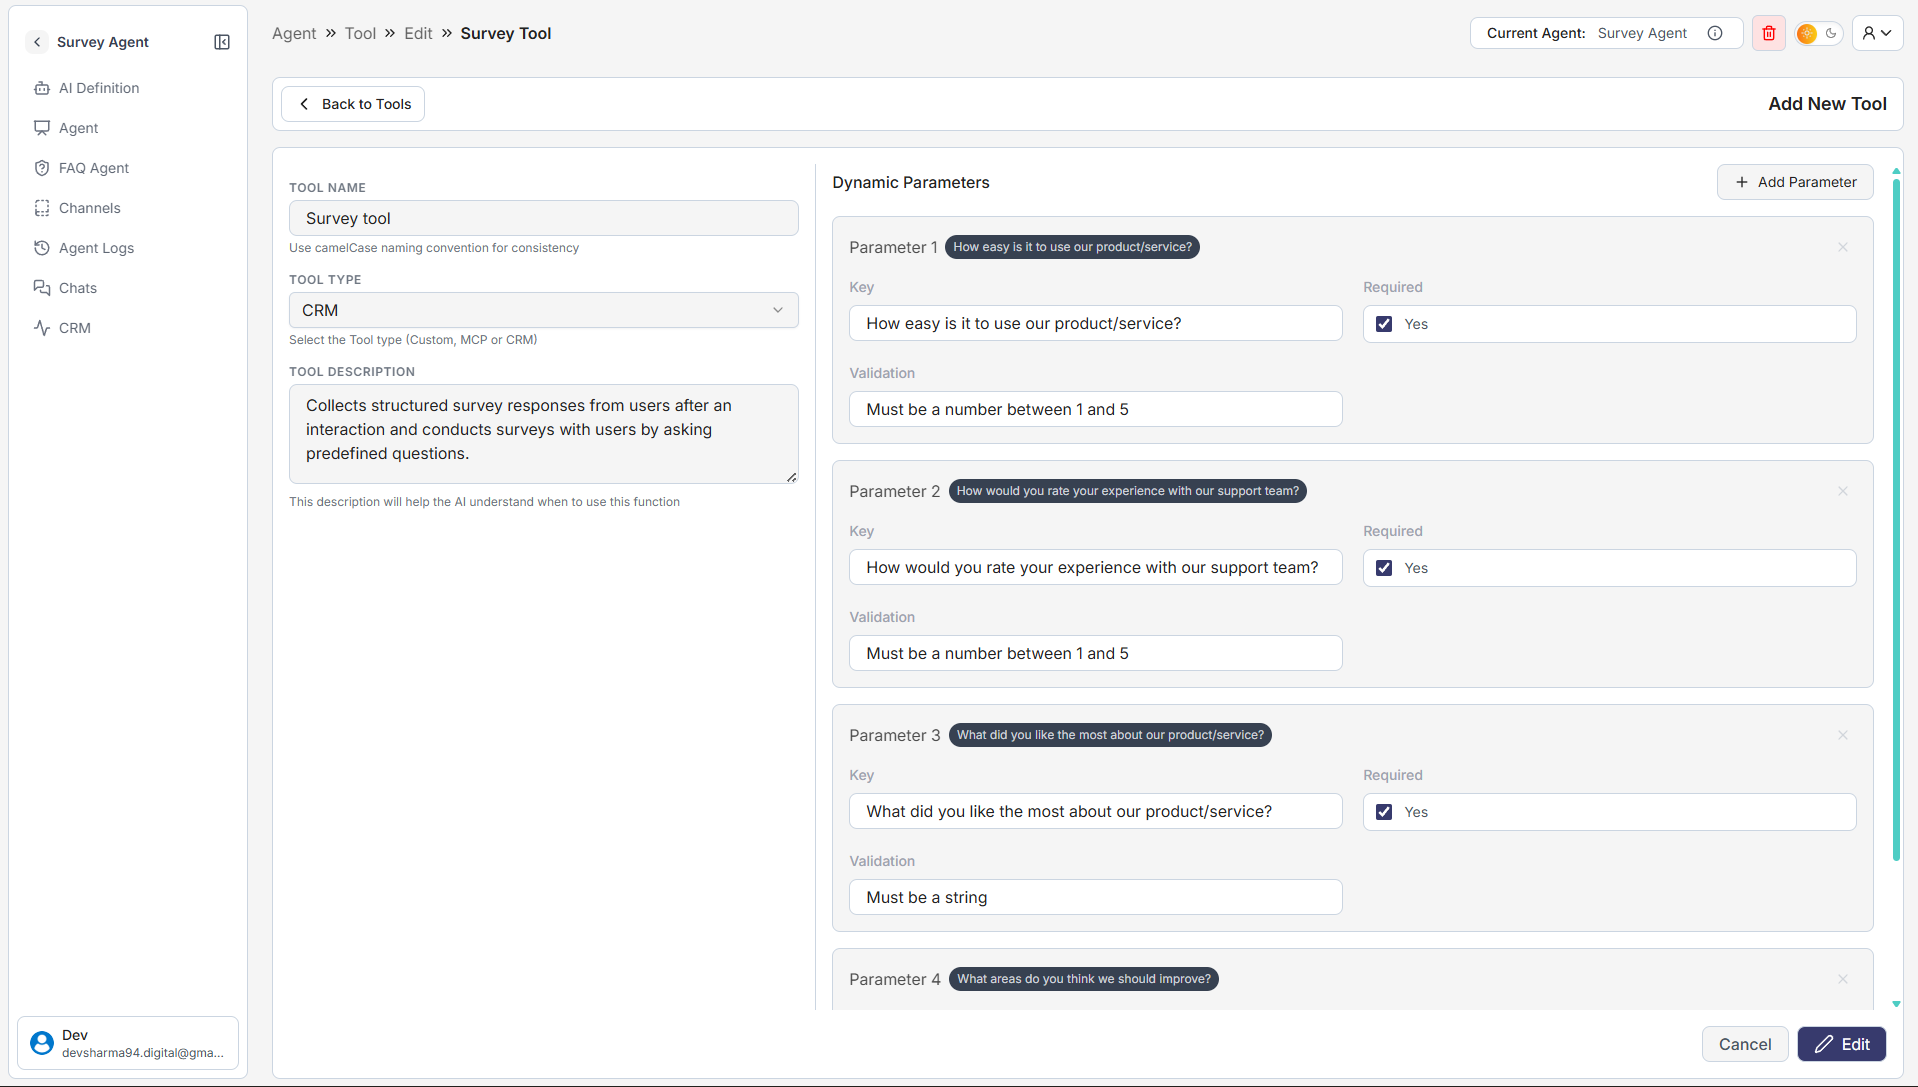
2. On the "Edit Survey Tool" page, you can customize the survey questions in the Dynamic Parameters section. Each parameter represents one question.
• Key → This is the question the agent will ask the user (e.g., "How would you rate your experience?").
• Validation → Set rules for the answer (e.g., "Must be a number between 1 and 5" or "Must be a string").
• Required → Check this box if the user must answer the question.
3. Add, remove, or edit parameters to fit your survey needs.
4. Once finished, click the Edit button at the bottom to save your changes.
Step 3: Configure the ReAct Agent
The ReAct Agent is the engine that uses your tool to automate tasks.
1. On the Agent page, click the React Agents tab at the top.
2. You will see a pre-configured ReAct agent. Click the edit icon to configure it.
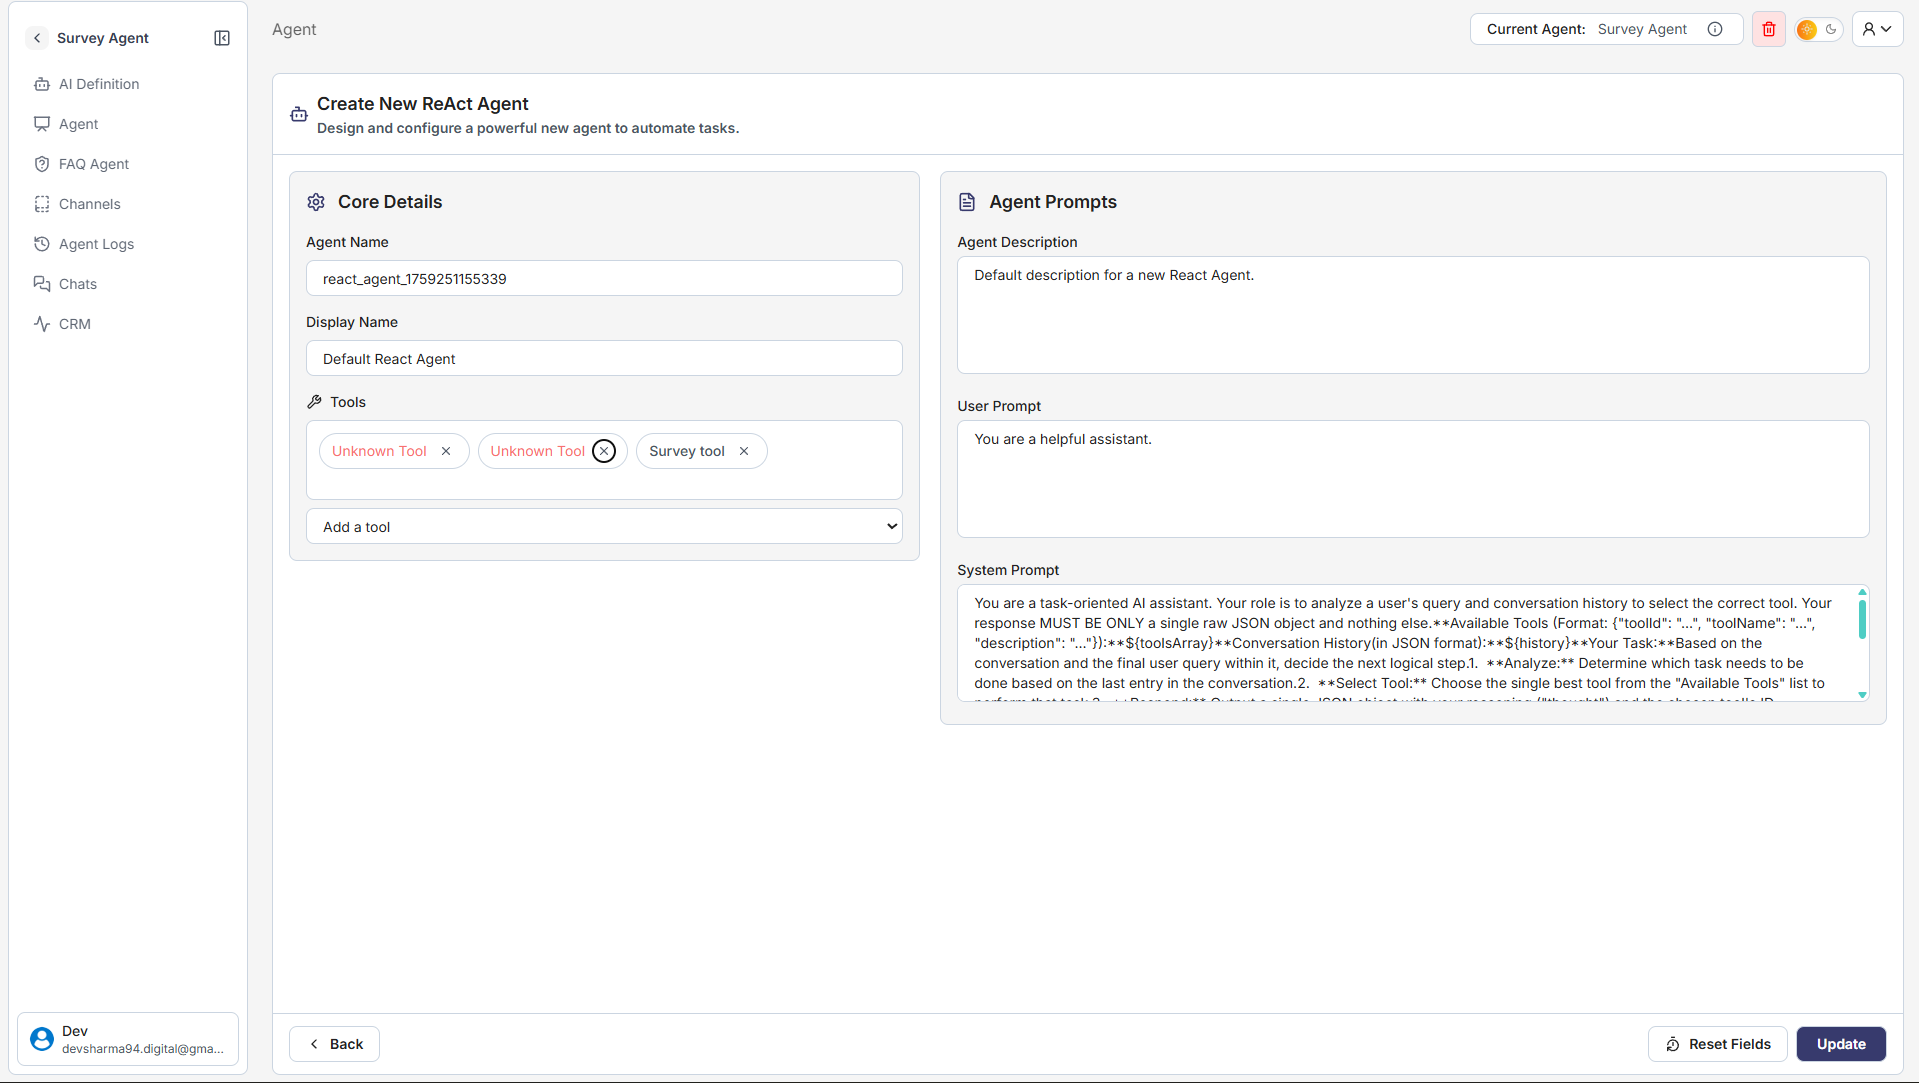
3. On the "Create New ReAct Agent" screen:
• Review the Agent Name and Display Name.
• Under Tools, ensure your "Survey tool" is selected and linked.
• Review the Agent Prompts (System and User prompts) to define the agent's behavior. The default prompts are usually sufficient to start.
4. Click the Update button to save the configuration.
Step 4: Activate the ReAct Functionality
You need to tell the main agent to use the ReAct engine you just configured.
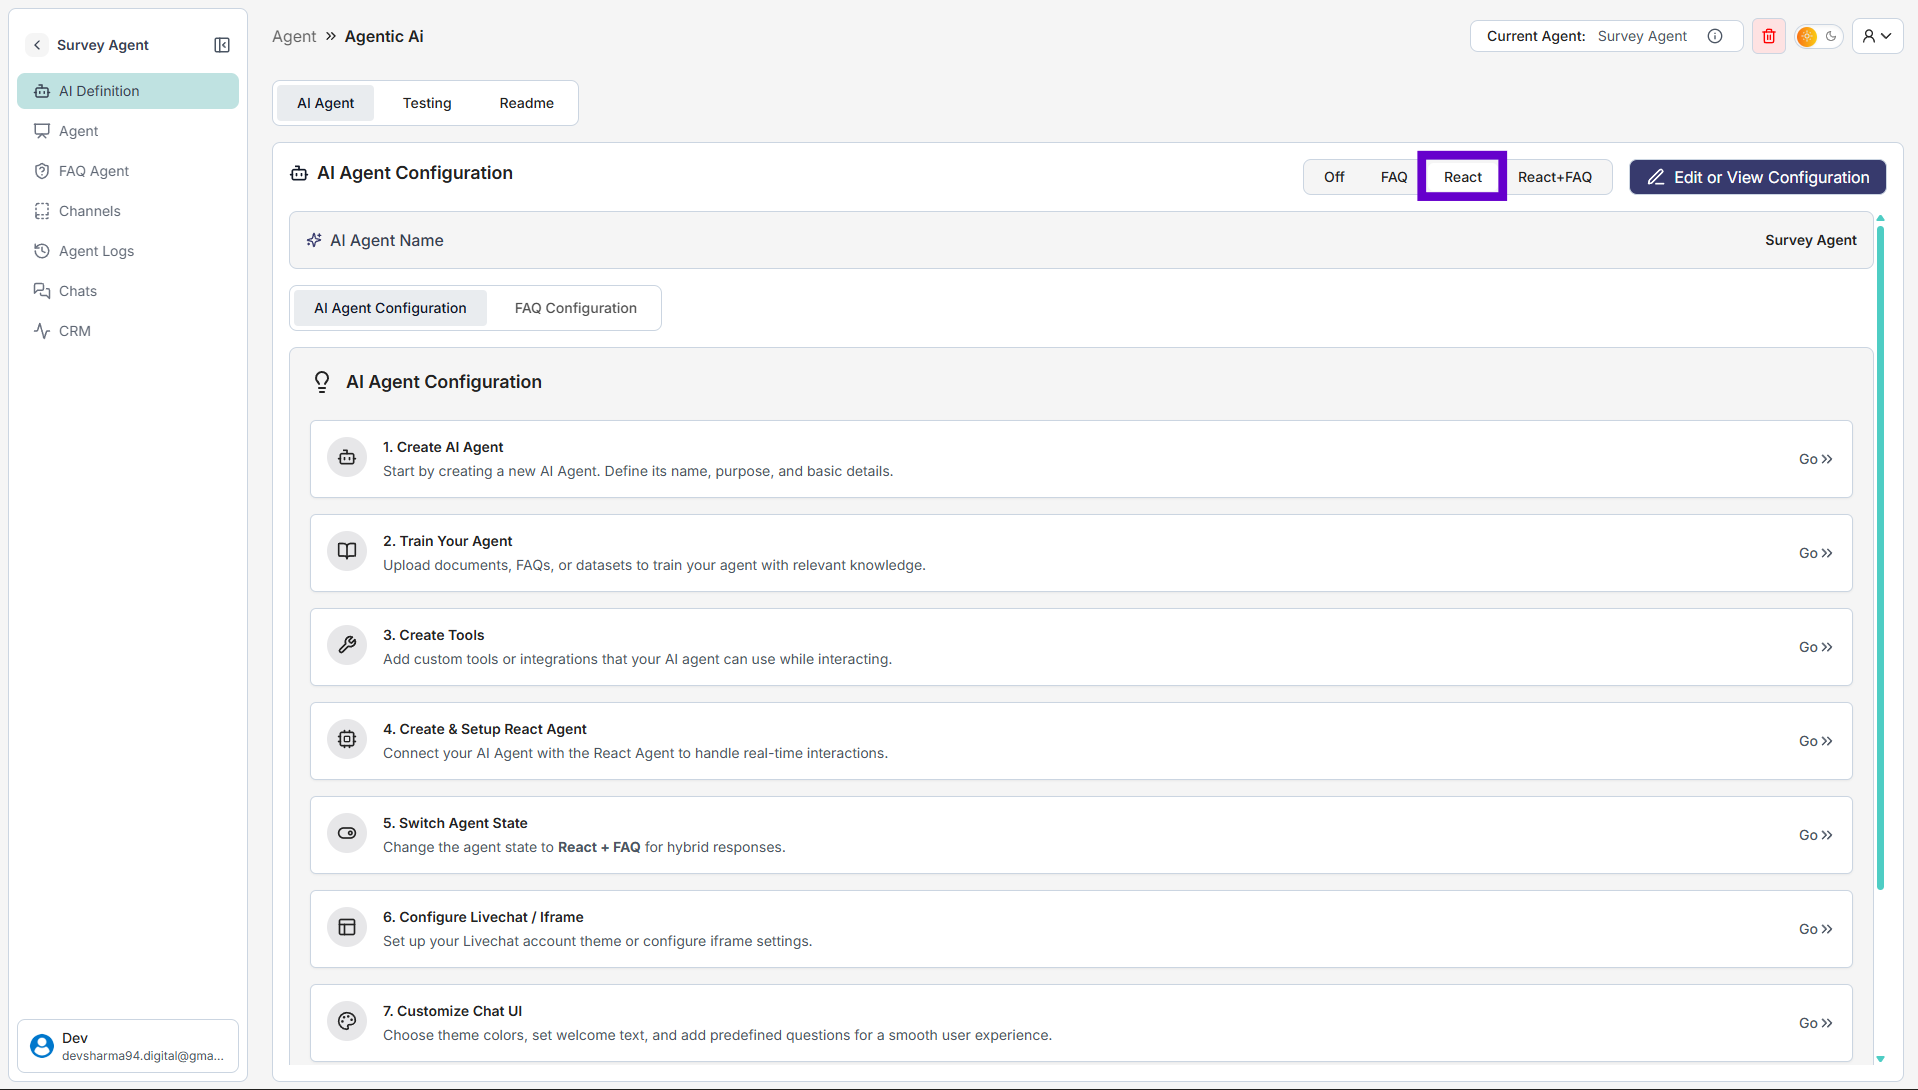
1. From the left menu, navigate to AI Definition.
2. Find the AI Agent Configuration toggle switch at the top.
3. Select React. This activates the agent's ability to use tools and automated flows.
Step 5: Test Your Survey Agent
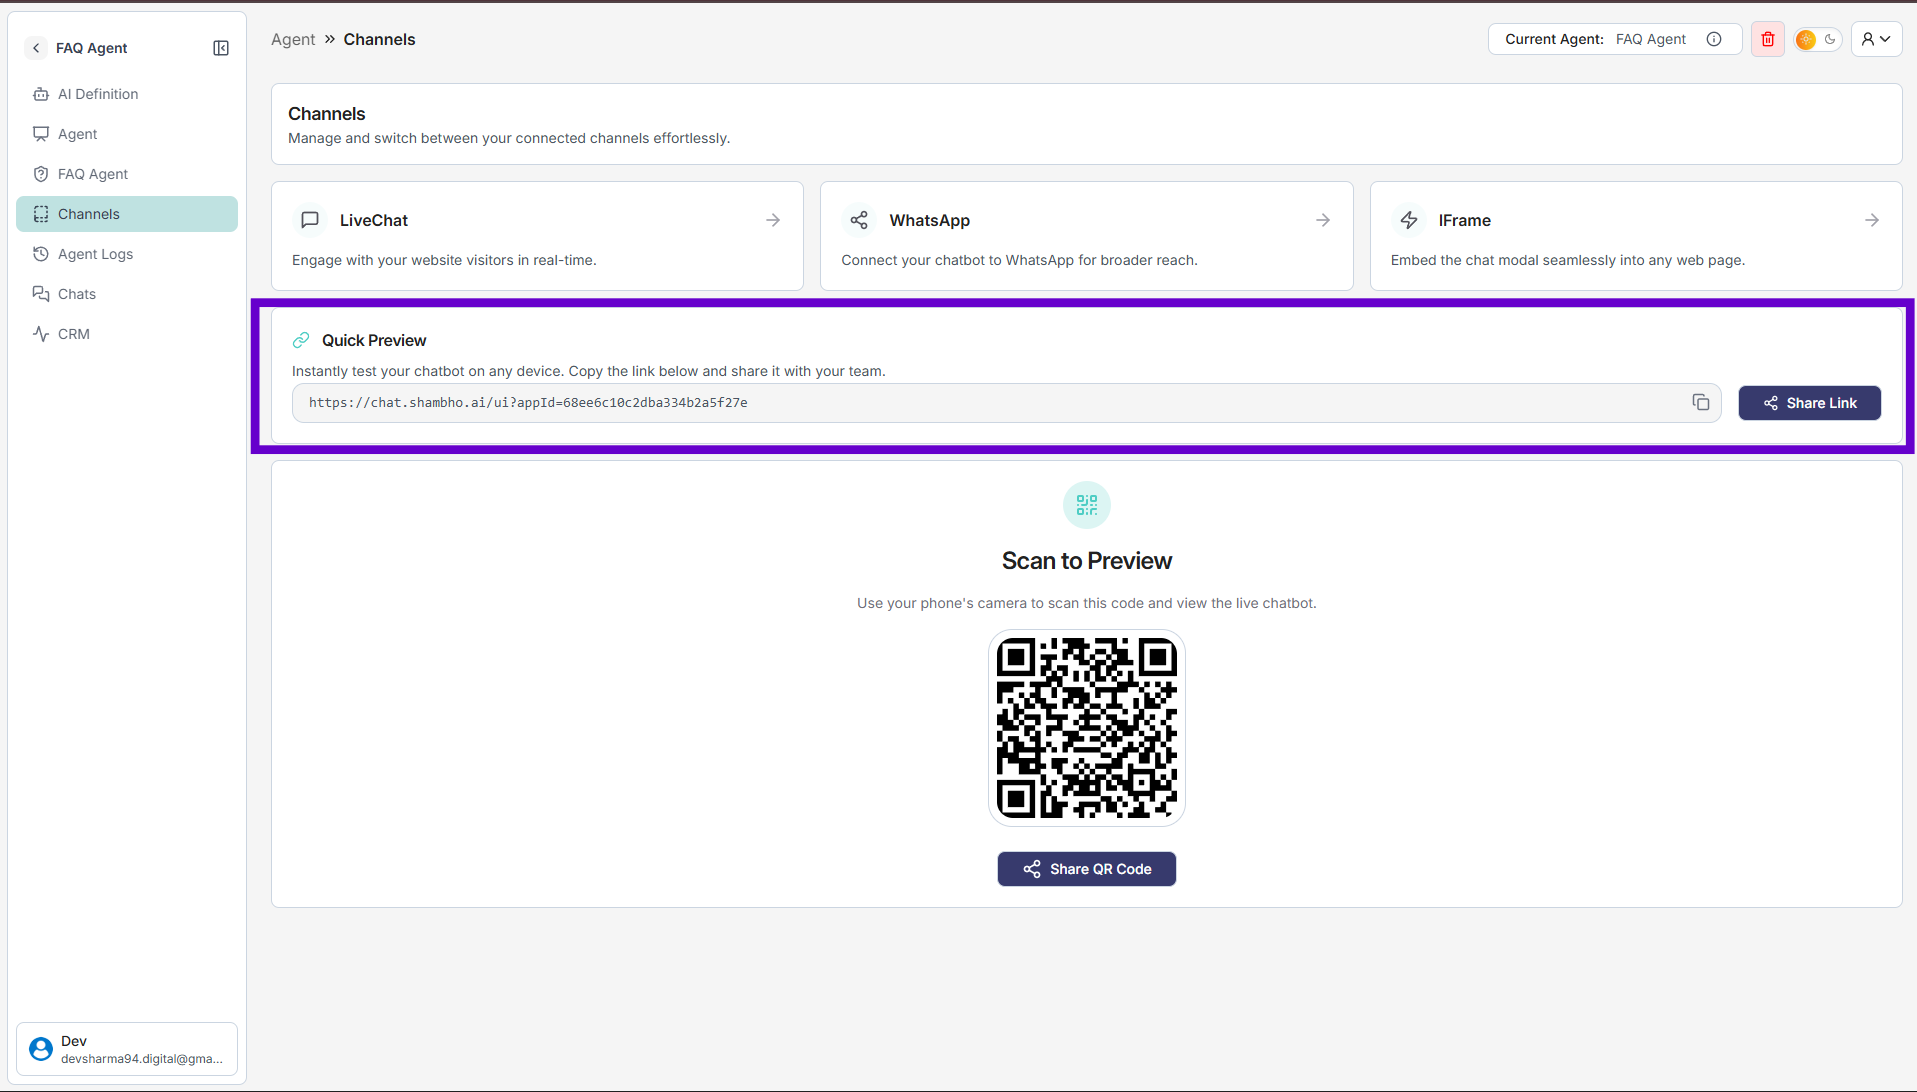
1. In the left-hand menu, click on Channels.
2. You’ll see different options such as LiveChat, WhatsApp, and IFrame.
3. Under Quick Preview, copy the provided preview link.
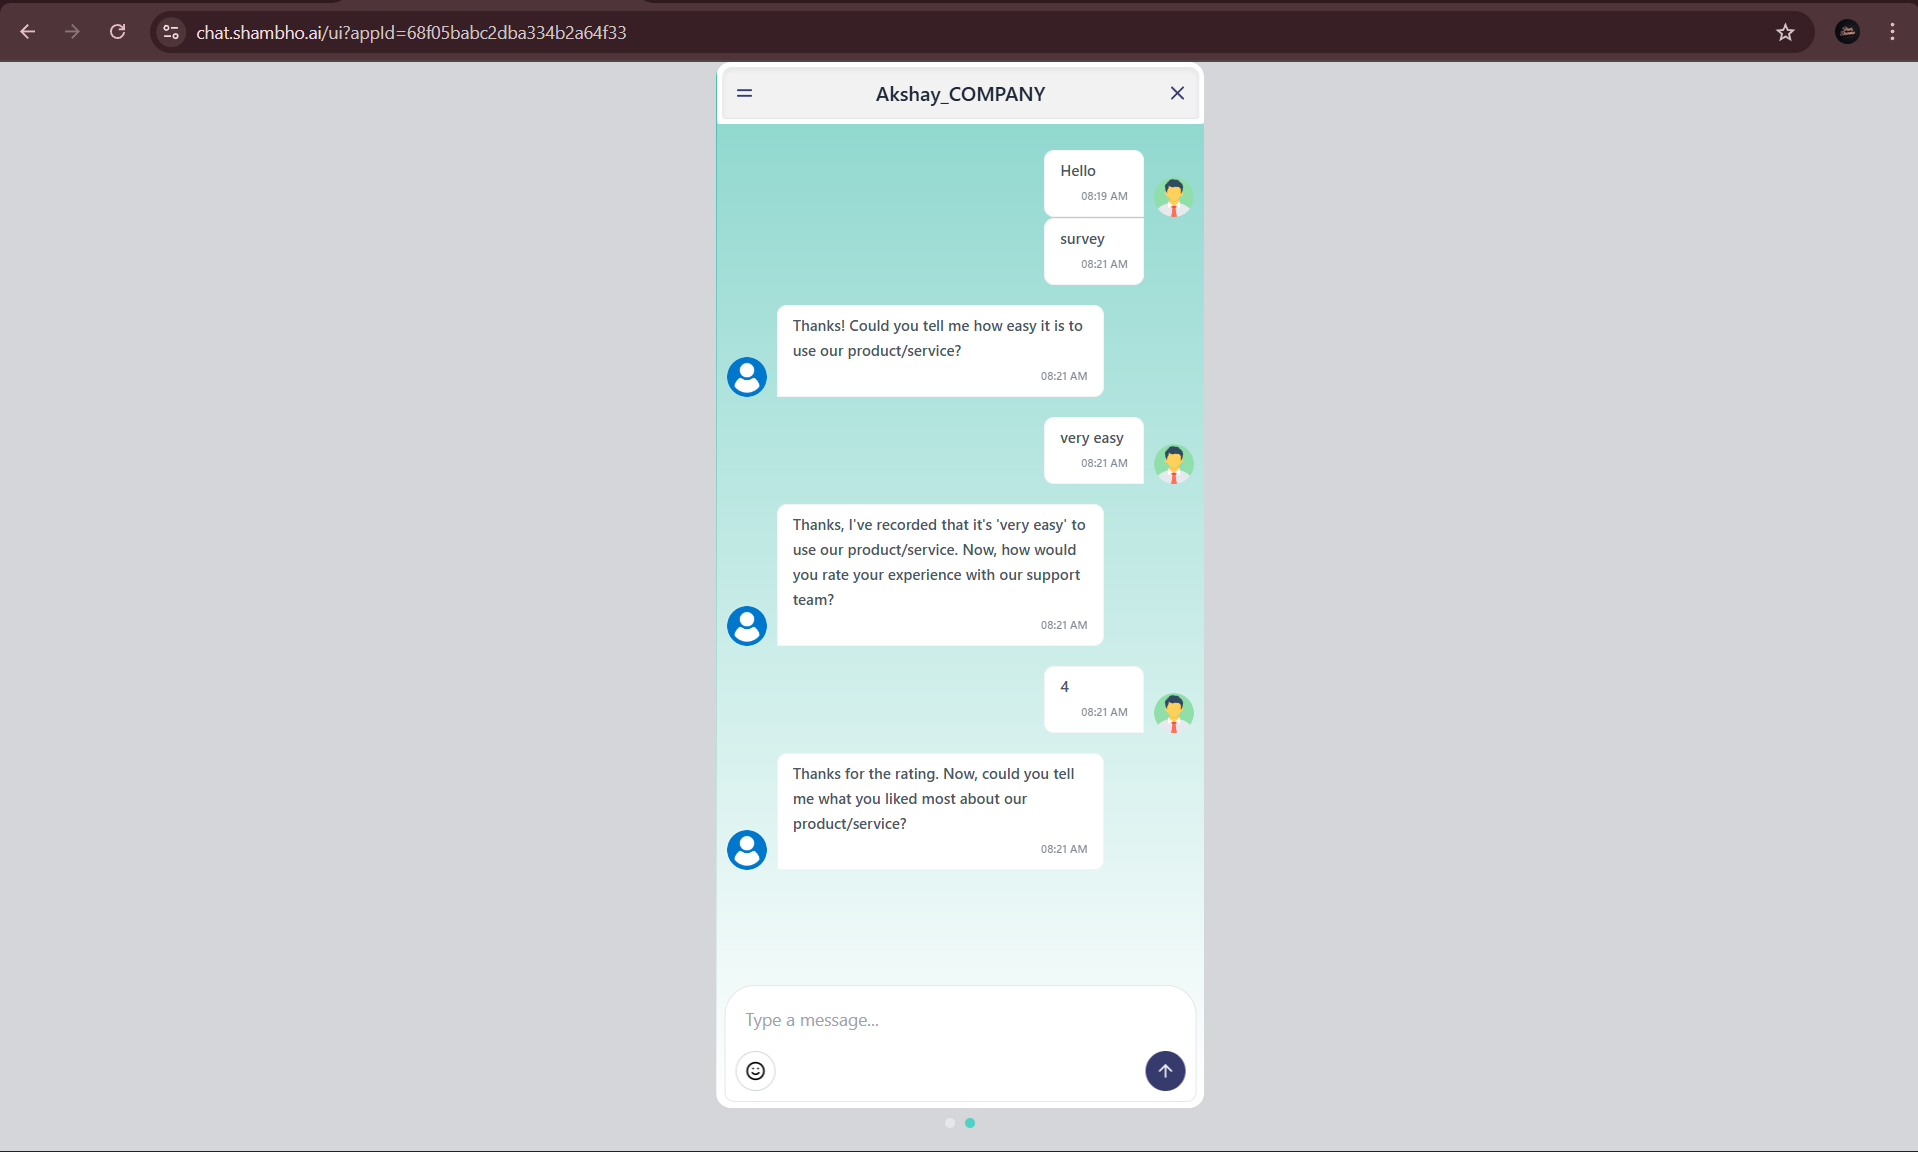
4. Paste the link into your browser to open and test the Survey agent.
5. Type your sample questions to verify the answers appear correctly.